
Please note some of the links in this post are affiliate links. This means if you click on the link and purchase the item, I will receive a small commission at no extra cost to you. All opinions remain my own.
Displaying Custom Data on the Products on the WooCommerce Shop Page
The other day I wrote a post on how to get custom data onto the products in the shop page on WooCommerce using hooks. That post describes how to do it using either the core WooCommerce hooks, or the custom Astra hooks that you need to use if you’re using the Astra theme. The final code looks like this:
if (wp_get_theme() == 'Astra') {
  add_action('astra_woo_shop_title_after' , 'clario_product_feature_shop_front'); // use Astra custom hook
} else {
  add_action('woocommerce_after_shop_loop_item_title' , 'clario_product_feature_shop_front'); // use WooCommerce core hook
}

function clario_product_feature_shop_front(){
  echo '<div class="shop-page-custom-product-meta">some custom info</div>';
}
Whichever way you’re doing it (Astra or WC core), that code is probably not very useful because it prints the same thing on every product. If you want to put something different on each product, you need a way to attach that data to the product itself so you can dynamically display it when the shop page is rendered.
Advanced Custom Fields
You can do that by creating a custom meta box on all the product pages which allows the user to input some data and then saves it to the database when the product is updated. You could code all that by hand using the WordPress Metabox API, but a much, much easier way to do this is using Advanced Custom Fields.
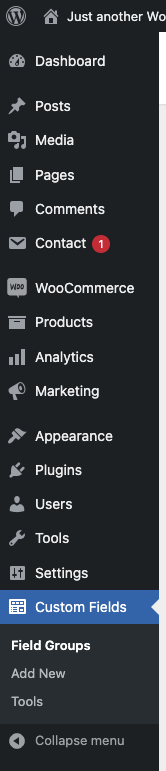
You can install the ACF plugin from the plugins page on your WordPress admin dashboard. Once done, you’ll get a Custom Fields menu item:
Create a New Advanced Custom Field
Click on Add New under the menu to open the configuration for a new custom field. You’ll get a screen like the following and can fill in the basic details:
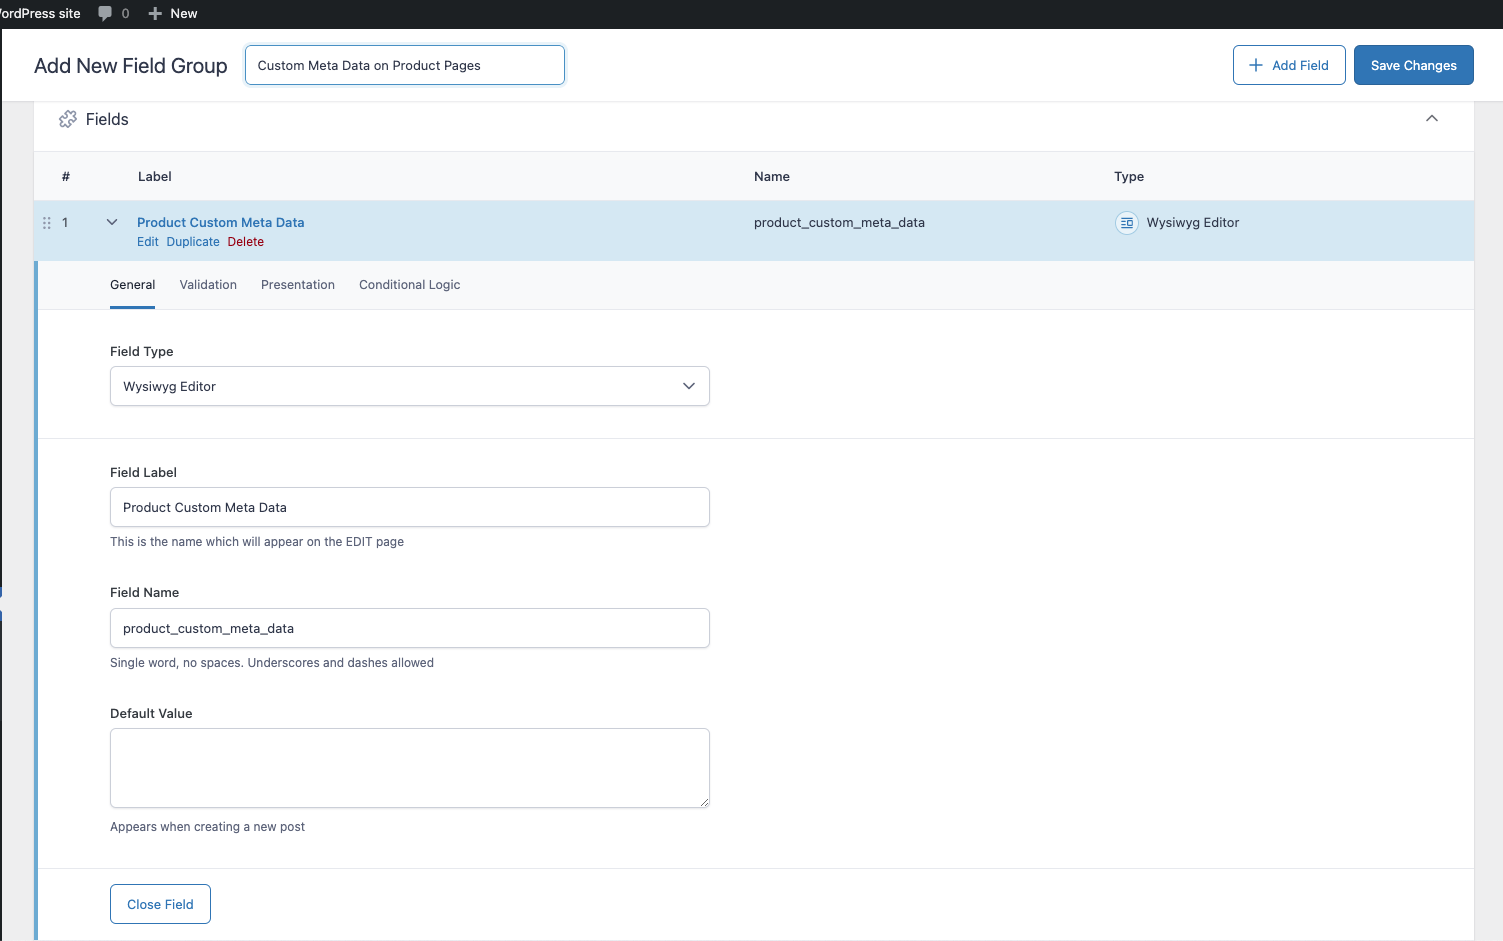
I’ve chosen Wysiwyg Editor for Field Type, set the Field Label to Product Custom Meta Data and the Field Name to product_custom_meta_data. Note down the field name, you’ll need it later.
Then click the save changes button.
Set the Location of the Field
Then, further down the same page there is another section that allows you to set where this field will show up in your site. The default value for this is “Post type is equal to post”. All you need to do to make this show up on the back end of your Product pages is change the third drop down to be Product, and then save again.
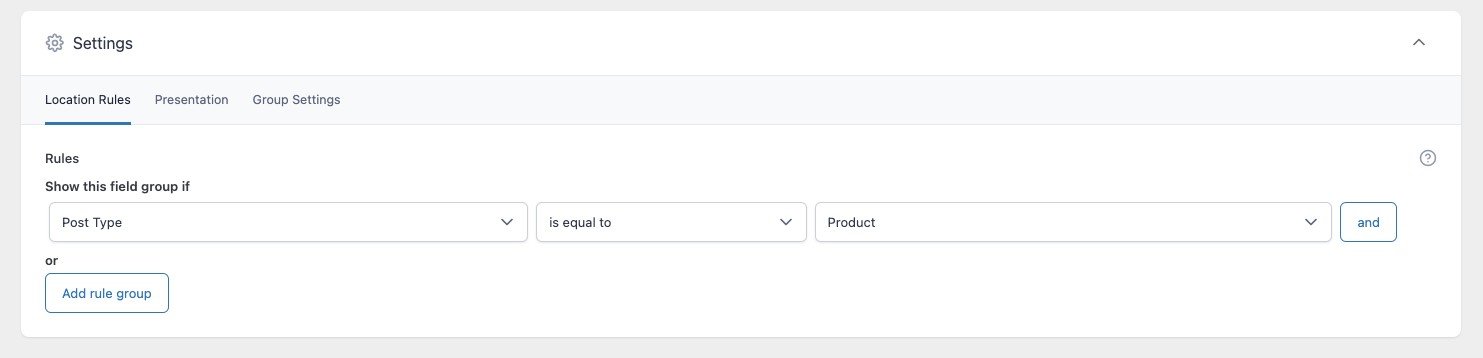
If you go to edit a product page and you don’t see the custom meta box there, go back to the Location settings configuration and make sure the dropdown has saved correctly as Product – sometimes it defaults back to Post.
In the next tab along from Location Rules you’ll see a tab called Presentation which you can use to more precisely set where on the edit page of the products this meta box will sit, but for now, I’ll use the default location.
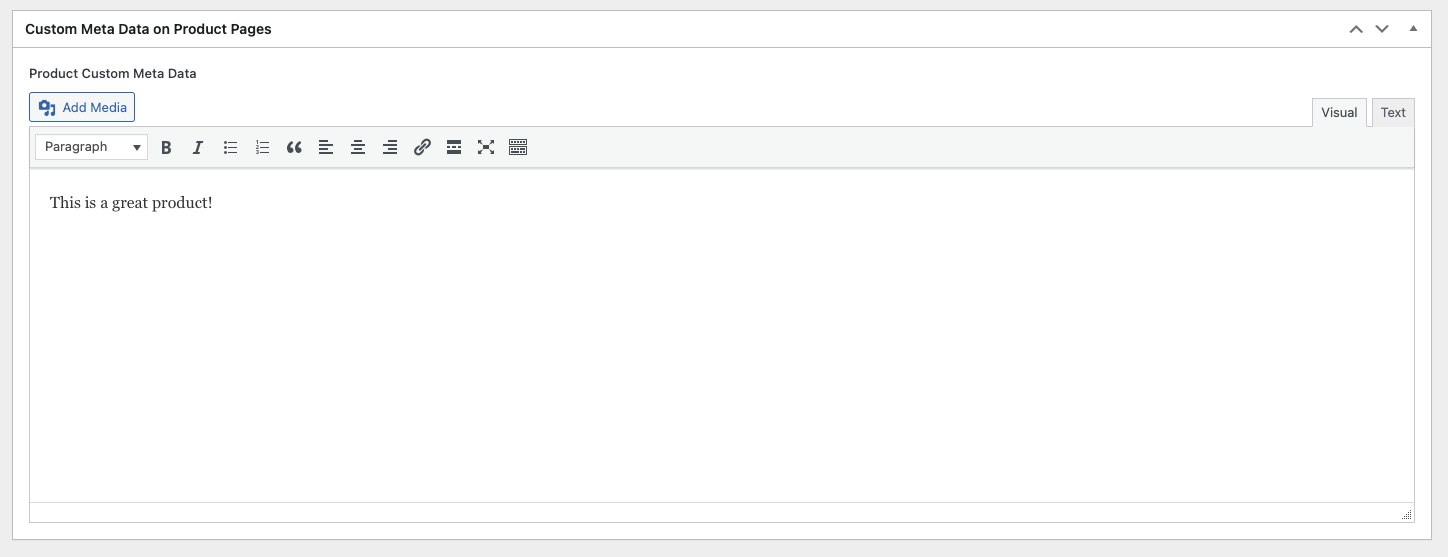
Fill in the Meta Box on the Back End of the Product Pages
Now when I edit a product I can see that there is a meta box below the Long Description on the product. I can fill it in, and when I update the product, the value in the metabox is saved to the database by Advanced Custom Fields, and is preserved in the meta box itself (this is a lot of handy functionality we’re getting for free!):
Displaying the Metabox Value on the Front End of the Product
We need a little bit of code to make this part work, but it’s really easy!
ACF has a function called get_field which gets a field value by field name. It takes a post ID which defaults to the ID of the current page. So, in our case, all we need to get the value of the field is the field name itself. We set that to product_custom_meta_data back when we did the initial settings for the field.
Now all we need to do is add the get_field function call to the initial code I showed you at the top of the post, and echo it back out to the screen:
if (wp_get_theme() == 'Astra') {
  add_action('astra_woo_shop_title_after' , 'clario_product_feature_shop_front');
} else {
  add_action('woocommerce_after_shop_loop_item_title' , 'clario_product_feature_shop_front');
}
// the field itself is defined in ACF custom fields
function clario_product_feature_shop_front(){
  $info = get_field( 'product_custom_meta_data' ); // get custom field
  echo '<div class="shop-page-custom-product-meta">' . $info . '</div>'; // echo it out
}
See the Output on the Shop Page
I’ve gone ahead and updated a few of the values in the product meta boxes and you can see that the different values are coming up on products on the shop page:
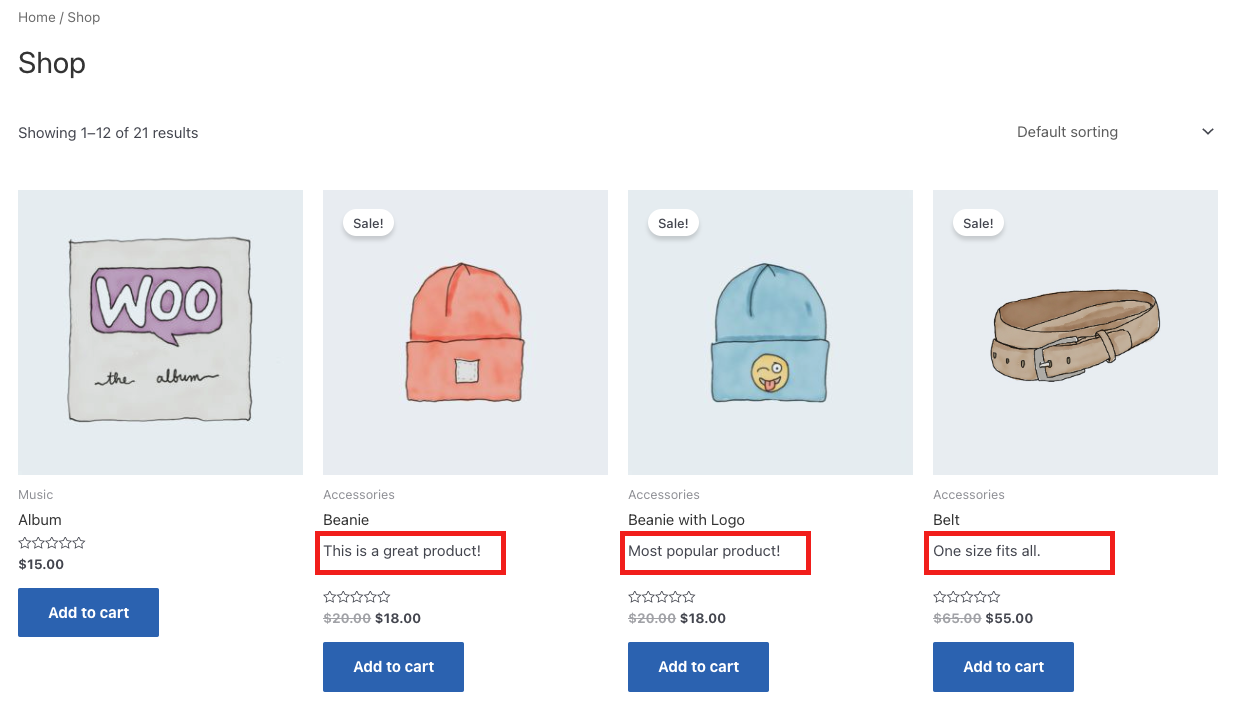
You can use the shop-page-custom-product-meta class on the div surrounding the extra data to jazz it up as you see fit!
The featured image for this post is from NordWood Themes on Unsplash